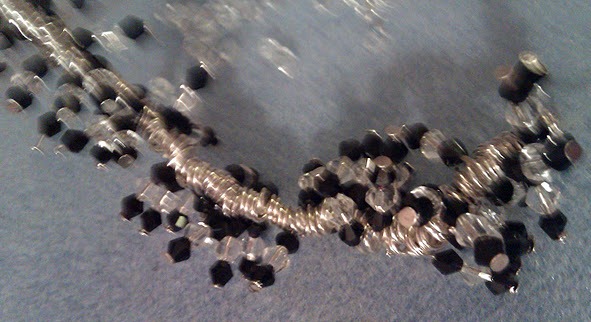
Cluster Bracelet
This is the tutorial for my cluster bracelet it is easy and fun to make and looks really nice too and one size fits all, you will need
Headpins (how many depends of the length of bracelet and the size of the beads you are using)
Round nose pliers
Beads of your choice
Elastic
Clear nail polish (optional)
First take a piece of bracelet elastic and cut to the required length, then tie a few knots at the end so they make a larger knot so the the charms you make don't fall off.
Begin by threading beads onto the headpin (don't fill the whole headpin as you need to coil the metal a few times around the pliers)
Now using your pliers make a loop and keep coiling until you reach a few mm's from the bead(s)
Make lots of the charms and add them to the elastic
Your cluster bracelet will start to grow, keep adding and making the charms until you think you have enough to fill the bracelet, to finish the bracelet simply tie the two ends tightly i would knot at least 5 times and the knot is hidden in all the charms, and add a touch of clear nail polish if you wish to make the knots even more sturdy.
This is my finished bracelet, I used 4mm bicones in clear and black to make a really sparkly bracelet. the pattern was simply thread one black onto headpin followed by one clear, followed by one black and then coil and add to elastic.